The Ultimate Desk Cable Management Guide for a Clean and Streamlined Gaming Setup
By Steelseries | Published: 2026-06-23
Category: How-to Guides
Master gaming desk cable management with our step-by-step guide. Learn cable routing tips, essential gear, and how to organize gaming cables for a clean, high-performance setup.
Is your gaming desk a tangled mess of cables? You're not alone. For many gamers, the battle against wire clutter is a constant struggle. But a clean gaming desk setup isn't just about looks—it improves airflow, reduces dust buildup, and can even enhance your focus during intense sessions. In this comprehensive guide, we'll walk you through the best cable management for gamers, from essential tools to advanced routing techniques. Whether you're building from scratch or cleaning up an existing setup, you'll learn how to organize gaming cables like a pro.
Why Cable Management Matters for Gamers
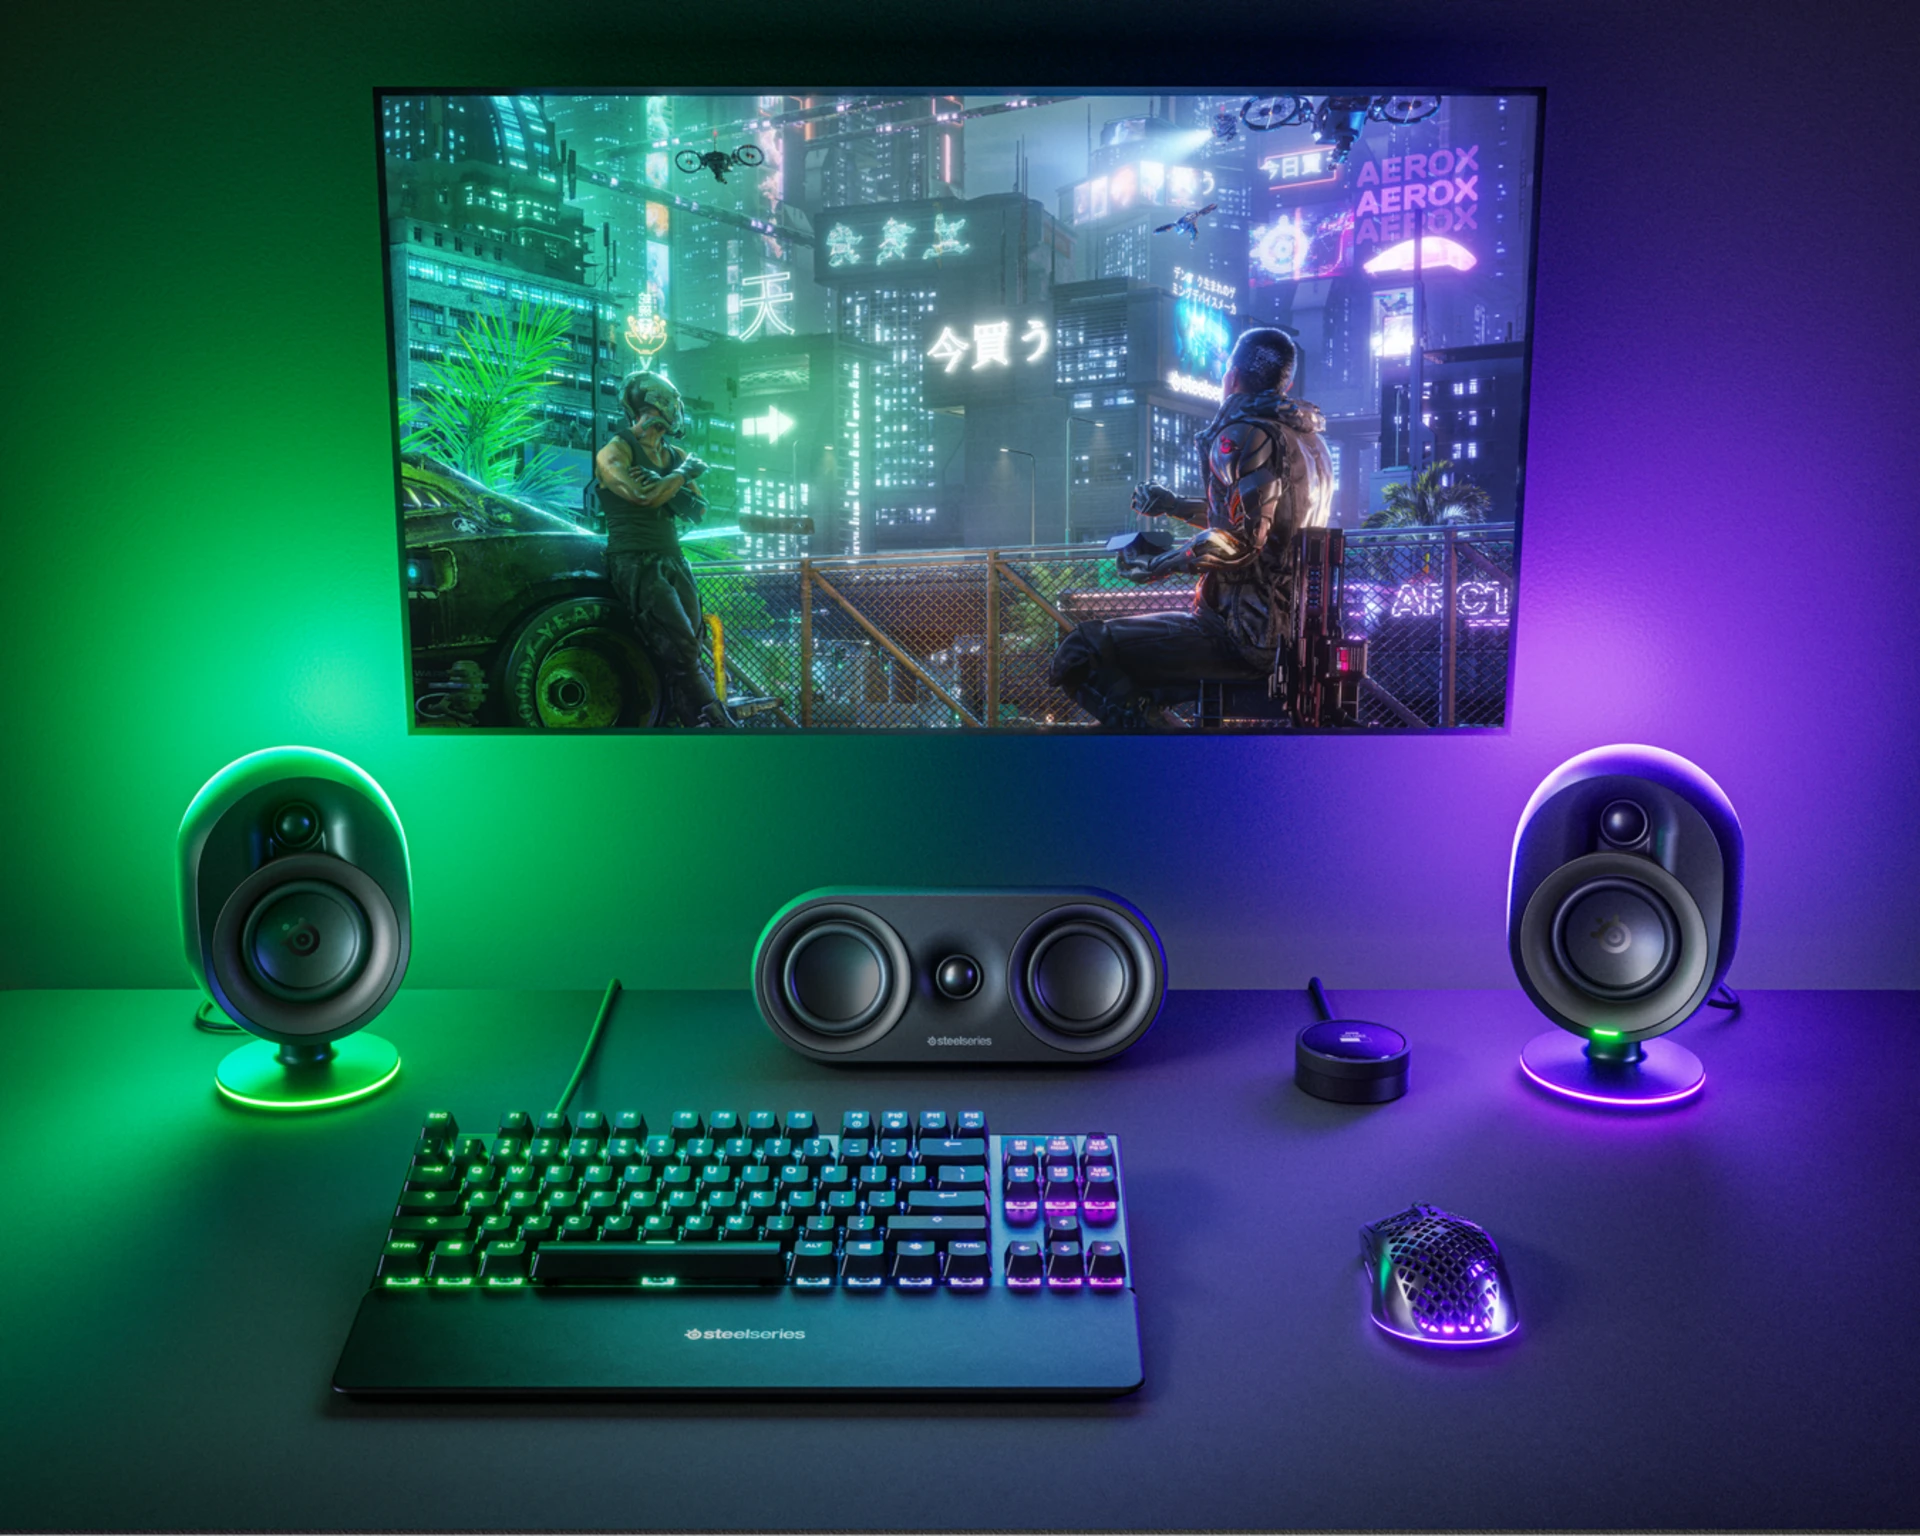
A cluttered desk can hurt your gameplay. Loose cables can snag on your mouse or keyboard, causing sudden movements or disconnects. Beyond functionality, a clean workspace reduces stress and helps you stay immersed. Proper gaming desk cable management also protects your gear—cables fray less when they're secured, and your peripherals last longer. Plus, it's easier to swap out devices like a Arena 9 - US speaker system or a new mouse without untangling a week's worth of knots.

Step 1: Assess Your Setup and Gather Tools
Start by unplugging everything. Lay your cables flat and identify which ones are essential and which are extras you rarely use. Common gaming cables include:
- Monitor power and display cables (HDMI, DisplayPort, power)
- Keyboard and mouse wires (or dongles for wireless)
- Headset cables (if wired)
- Speaker or microphone cables
- Controller charging cables
Once you've identified your cables, gather your cable management toolkit: zip ties, Velcro straps, adhesive cable clips, and a cable sleeve. You might also want labels to identify each cable at a glance.
Step 2: Route Cables Behind Your Desk
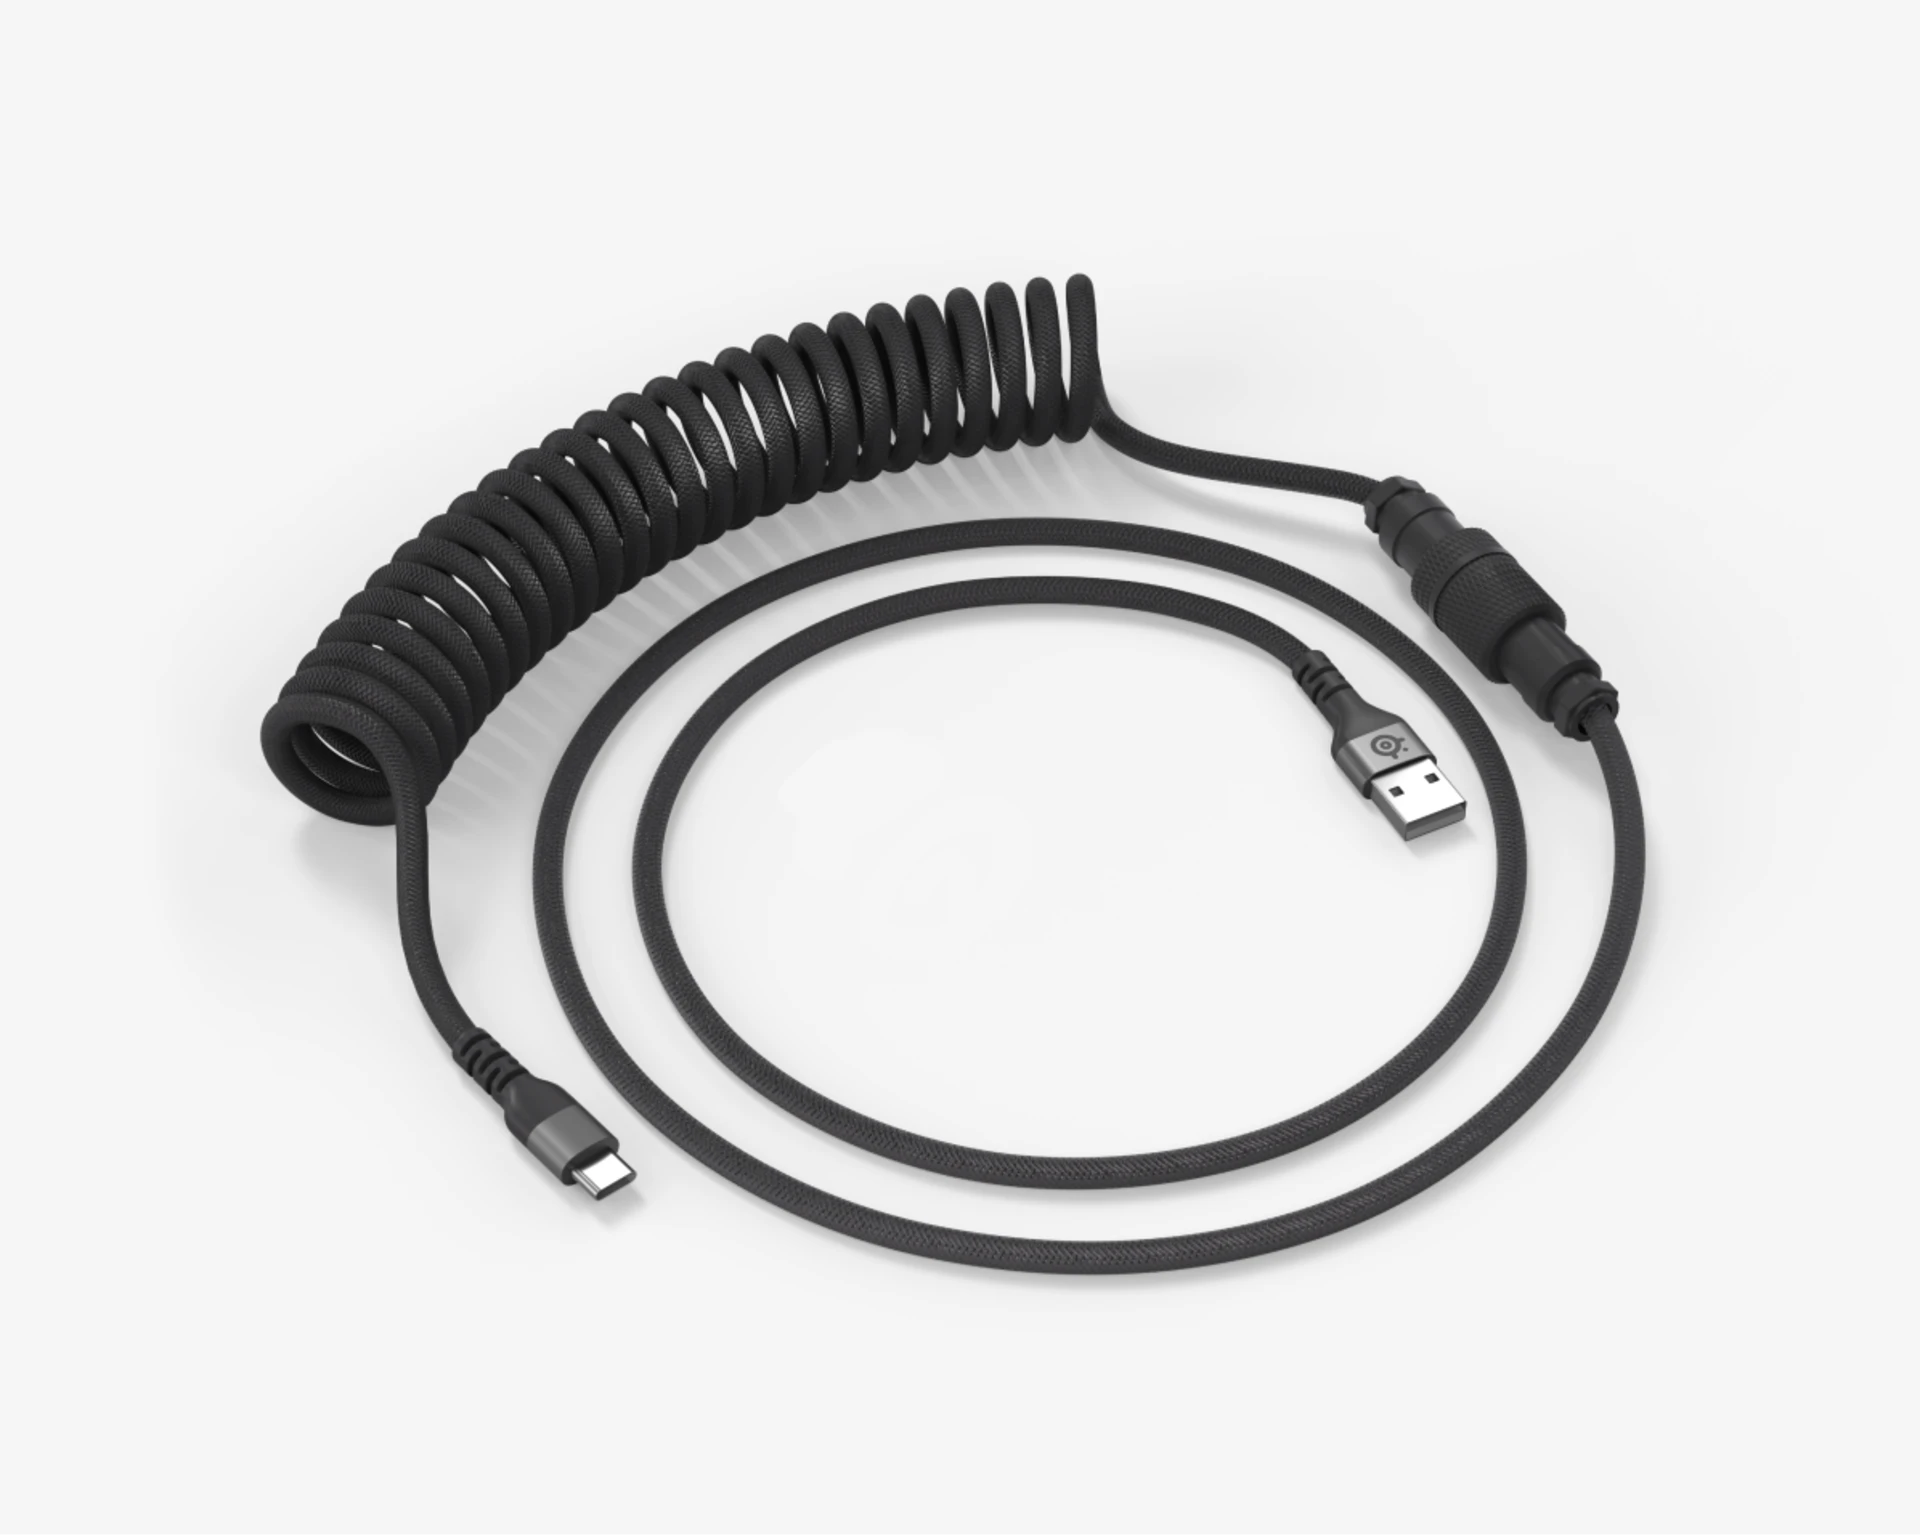
The golden rule of cable routing: keep cables off the floor and out of sight behind your desk. Use adhesive clips or a cable raceway along the back edge of your desk. Route power cables separately from signal cables (like USB or audio) to reduce interference. For a clean look, bundle monitor cables together and run them down the monitor arm or stand. If you have a Coiled Cable: Black for your keyboard, it naturally keeps the cable tidy and adds a retro vibe—coiled cables are excellent for reducing tangles and maintaining a consistent length.
Step 3: Manage Peripherals with Dedicated Accessories
Your mouse, keyboard, and headset are the main offenders for desk clutter. Here's how to tame them:
Mouse and Keyboard
If you use wired peripherals, invest in a cable bungee for your mouse to prevent drag. For keyboards, a coiled cable not only looks great but also minimizes slack. Wireless options are the ultimate solution—products like the Rival 3 Gen 2 Wireless US - Blemished Box eliminate mouse cable clutter entirely. Even if you prefer wired, routing the cable under your desk with a channel keeps it out of sight.
Headset and Speakers
For headsets, use a headphone stand with a built-in cable hook or a wall mount. If you have speakers like the Arena 9 system, position them at the edges of your desk and route cables behind the monitor. Use a cable sleeve to bundle speaker wires and USB cables together.
Step 4: Use Cable Trays and Under-Desk Mounts
One of the most effective cable management for gamers techniques is an under-desk cable tray. These metal or plastic trays attach to the underside of your desk and hold power strips, adapters, and excess cable length. Place your power strip in the tray and plug all devices into it—only one power cable runs to the wall. Then, route peripheral cables up to the desktop through a grommet or slit in the tray. This keeps 90% of your cables hidden and makes cleaning a breeze.
Step 5: Label and Secure Everything
After routing, secure cables with Velcro straps (not zip ties, which are permanent). Label both ends of each cable with small tags or colored tape. This step is crucial for future upgrades or troubleshooting—you'll know exactly which cable to pull without disrupting others. For a gaming setup with many devices, consider a label maker for a professional finish.
Step 6: Maintain Your Clean Setup
Your clean gaming desk setup won't stay perfect forever. Dust your desk and cables weekly, and check for loose clips or straps. When adding new gear, run the cables before plugging them in. If you upgrade to a wireless mouse or keyboard, you'll instantly reduce cable load. For instance, switching to a wireless headset can eliminate one more cable from your desk.
Common Cable Management Mistakes to Avoid
- Not planning for future expansions: Leave extra slack in your cable runs so you can add devices later.
- Using permanent ties: Always use reusable straps—you'll inevitably need to move things around.
- Ignoring cable lengths: Too much slack creates loops; too little puts strain on connectors. Measure before you route.
- Forgetting about airflow: Don't block your PC's intake or exhaust fans with cables. Use zip ties to keep them away from vents.
Advanced Tips for a Pro-Gamer Setup
If you want to go the extra mile, consider these pro tips:
- Monitor arms: They free up desk space and hide monitor cables inside the arm's channel.
- Wireless peripherals: The fewer cables, the cleaner your desk. Modern wireless mice and keyboards have near-zero latency.
- Custom cables: Braided or coiled cables with custom lengths can reduce excess bulk. The Coiled Cable: Black is a stylish choice for mechanical keyboards.
- Under-desk power strip: Mount it horizontally to keep all power bricks hidden.
- Grommets and holes: If your desk doesn't have a cable hole, drill one (covered with a plastic grommet) for a clean pass-through.
Conclusion: Your Cable-Free Gaming Future Starts Now
By following these steps, you'll transform your gaming area from a tangled nightmare into a streamlined command center. Gaming desk cable management isn't a one-time task—it's an ongoing habit that pays off in performance, aesthetics, and peace of mind. Start with basic routing and clips, then upgrade to trays and custom cables as your setup evolves. Your future self (and your teammates) will thank you for the cleaner, faster, and more reliable desk.
Ready to take your setup to the next level? Explore our collection of premium gaming peripherals and accessories designed for a clean desk. Check out the Arena 9 - US for immersive, cable-friendly audio that complements your tidy workspace.