How to Set Up and Optimize Your Gaming Headset for Voice Chat and Streaming
By Steelseries | Published: 2026-06-24
Category: How-to Guides
Learn how to set up and optimize your gaming headset for crystal-clear voice chat and streaming. Covers mic placement, software settings, noise reduction, and audio balance.
Whether you're coordinating a clutch play in a ranked match or engaging with your audience on Twitch, clear and reliable audio communication is non-negotiable. A great gaming headset is the foundation, but even the best hardware needs proper setup and optimization to deliver its full potential. This guide walks you through every step—from physical mic placement to advanced software tuning—so your voice comes through loud, clear, and free from background noise.
1. Physical Setup: Mic Placement and Positioning
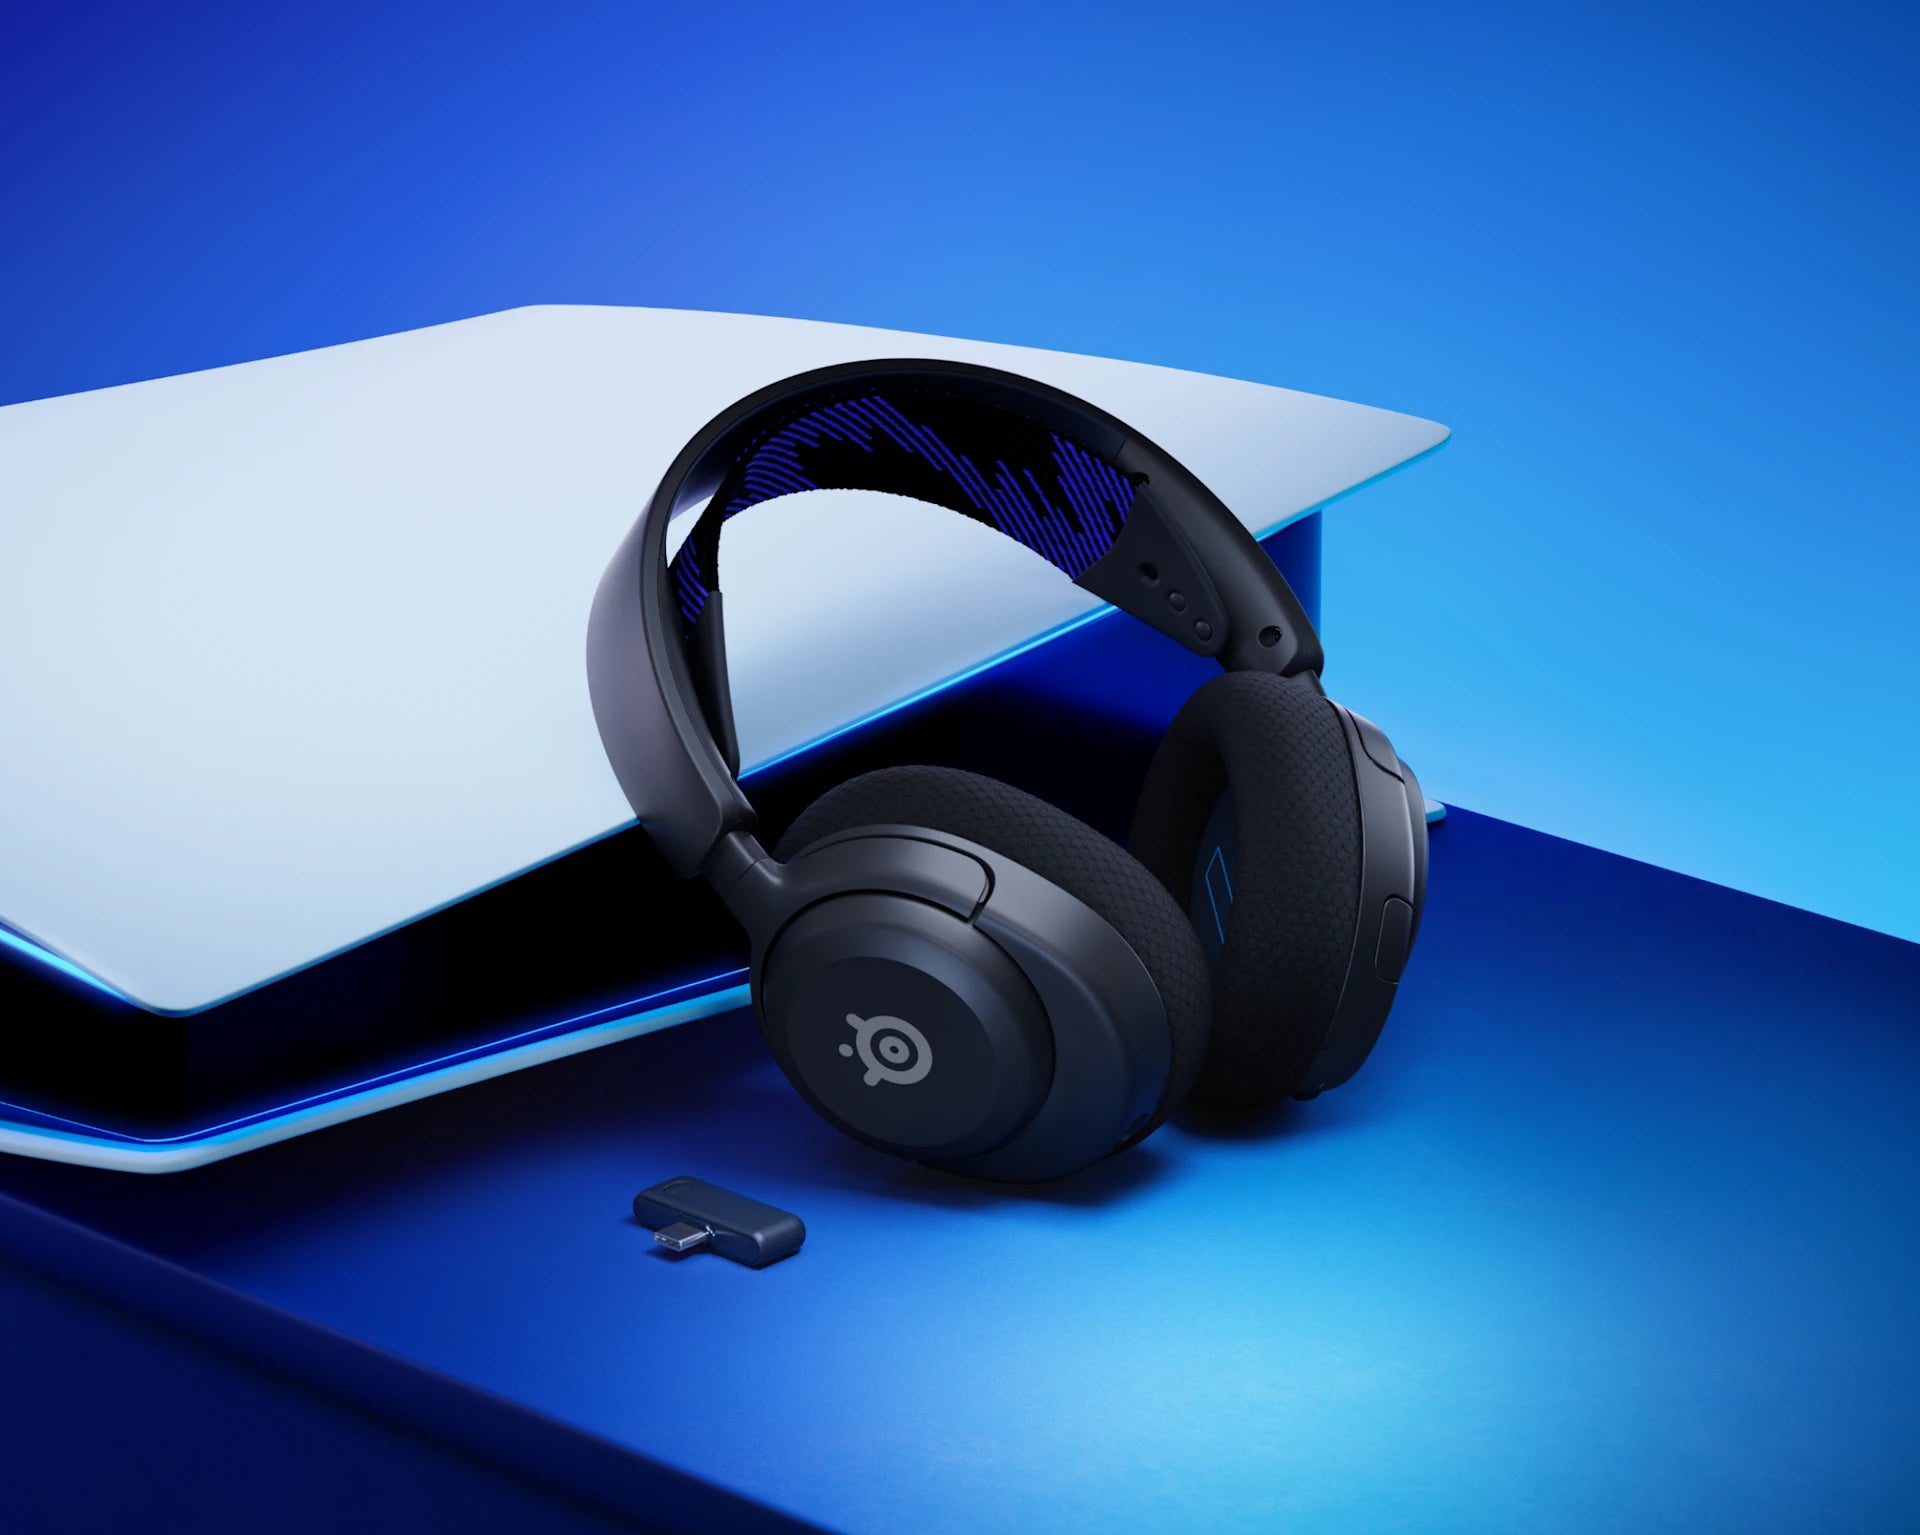
Before diving into software, ensure your headset is physically positioned for optimal voice capture. The most common mistake is having the microphone too far from your mouth or off-axis. For most boom microphones, the ideal position is about one to two finger widths from the corner of your mouth, slightly off to the side so you're not breathing directly into it. This reduces plosives (hard 'P' and 'B' sounds) and keeps your voice volume consistent. If your headset has a flexible boom, take a moment to adjust it. Models like the Arctis Nova 4P Wireless feature a retractable, flexible mic that makes it easy to find the sweet spot without interfering with your gameplay.

2. Check Your Connection and Drivers
Connectivity matters more than you might think. A loose USB connection or faulty 3.5mm jack can introduce crackling, static, or intermittent audio dropouts. For USB headsets, always plug directly into your motherboard's rear USB ports (preferably USB 3.0 or higher) to avoid interference from front-panel cables. If you're using a wireless headset, ensure the dongle is in a clear line-of-sight position, ideally within a few feet of you. Keep the headset's firmware and drivers up to date—manufacturers often release patches that improve mic sensitivity, battery life, and noise cancellation algorithms. For SteelSeries headsets, the GG software handles driver updates seamlessly.
3. Use Your Headset's Software Suite
Modern gaming headsets come with powerful software that transforms a generic mic into a broadcast-quality tool. For SteelSeries users, the Engine app within SteelSeries GG is your control center. Here you can adjust equalizer presets for your own listening, but more importantly, you can fine-tune the microphone's side-tone (the amount of your own voice you hear in the headset) and apply noise gate or noise cancellation filters. A noise gate cuts out all sound below a certain volume threshold, which is excellent for eliminating keyboard clatter or mouse clicks that occur between your sentences. For streaming, you can also enable the Sonar Audio Engine, which separates game, chat, and mic audio into distinct channels, giving you granular control over each stream source.
4. Windows Sound Settings: The Foundation
Before any advanced tuning, get the basics right in Windows. Right-click the speaker icon in your system tray and go to Sound settings. Under 'Input', select your headset microphone as the default device. Then click 'Device properties' and navigate to 'Additional device properties'. In the 'Levels' tab, set the microphone volume to 80-90%—setting it to 100% can introduce distortion. In the 'Advanced' tab, ensure the default format is set to 16 bit, 48000 Hz (DVD Quality). This offers a good balance of audio fidelity and low CPU usage. Avoid going higher unless your streaming software specifically asks for it, as it can increase latency without noticeable quality gains.
5. Optimize for Streaming: OBS and Discord Settings
When streaming, your microphone audio goes through two layers: your system settings and then your streaming software. In OBS Studio, add your headset mic as an audio input source and apply a filter chain. Start with a Noise Gate to remove background hums, then add a Compressor to even out volume peaks (when you get excited) and quiet moments. Finally, a Limiter prevents any sudden spikes from clipping the audio. For Discord, go to User Settings > Voice & Video and set the input device to your headset mic. Enable 'Echo Cancellation' and 'Noise Suppression'—Discord's Krisp noise suppression is especially effective at removing background noise without sounding robotic. If your headset includes a physical mute button, test it before going live so you don't accidentally broadcast a private conversation.
6. Dealing with Background Noise
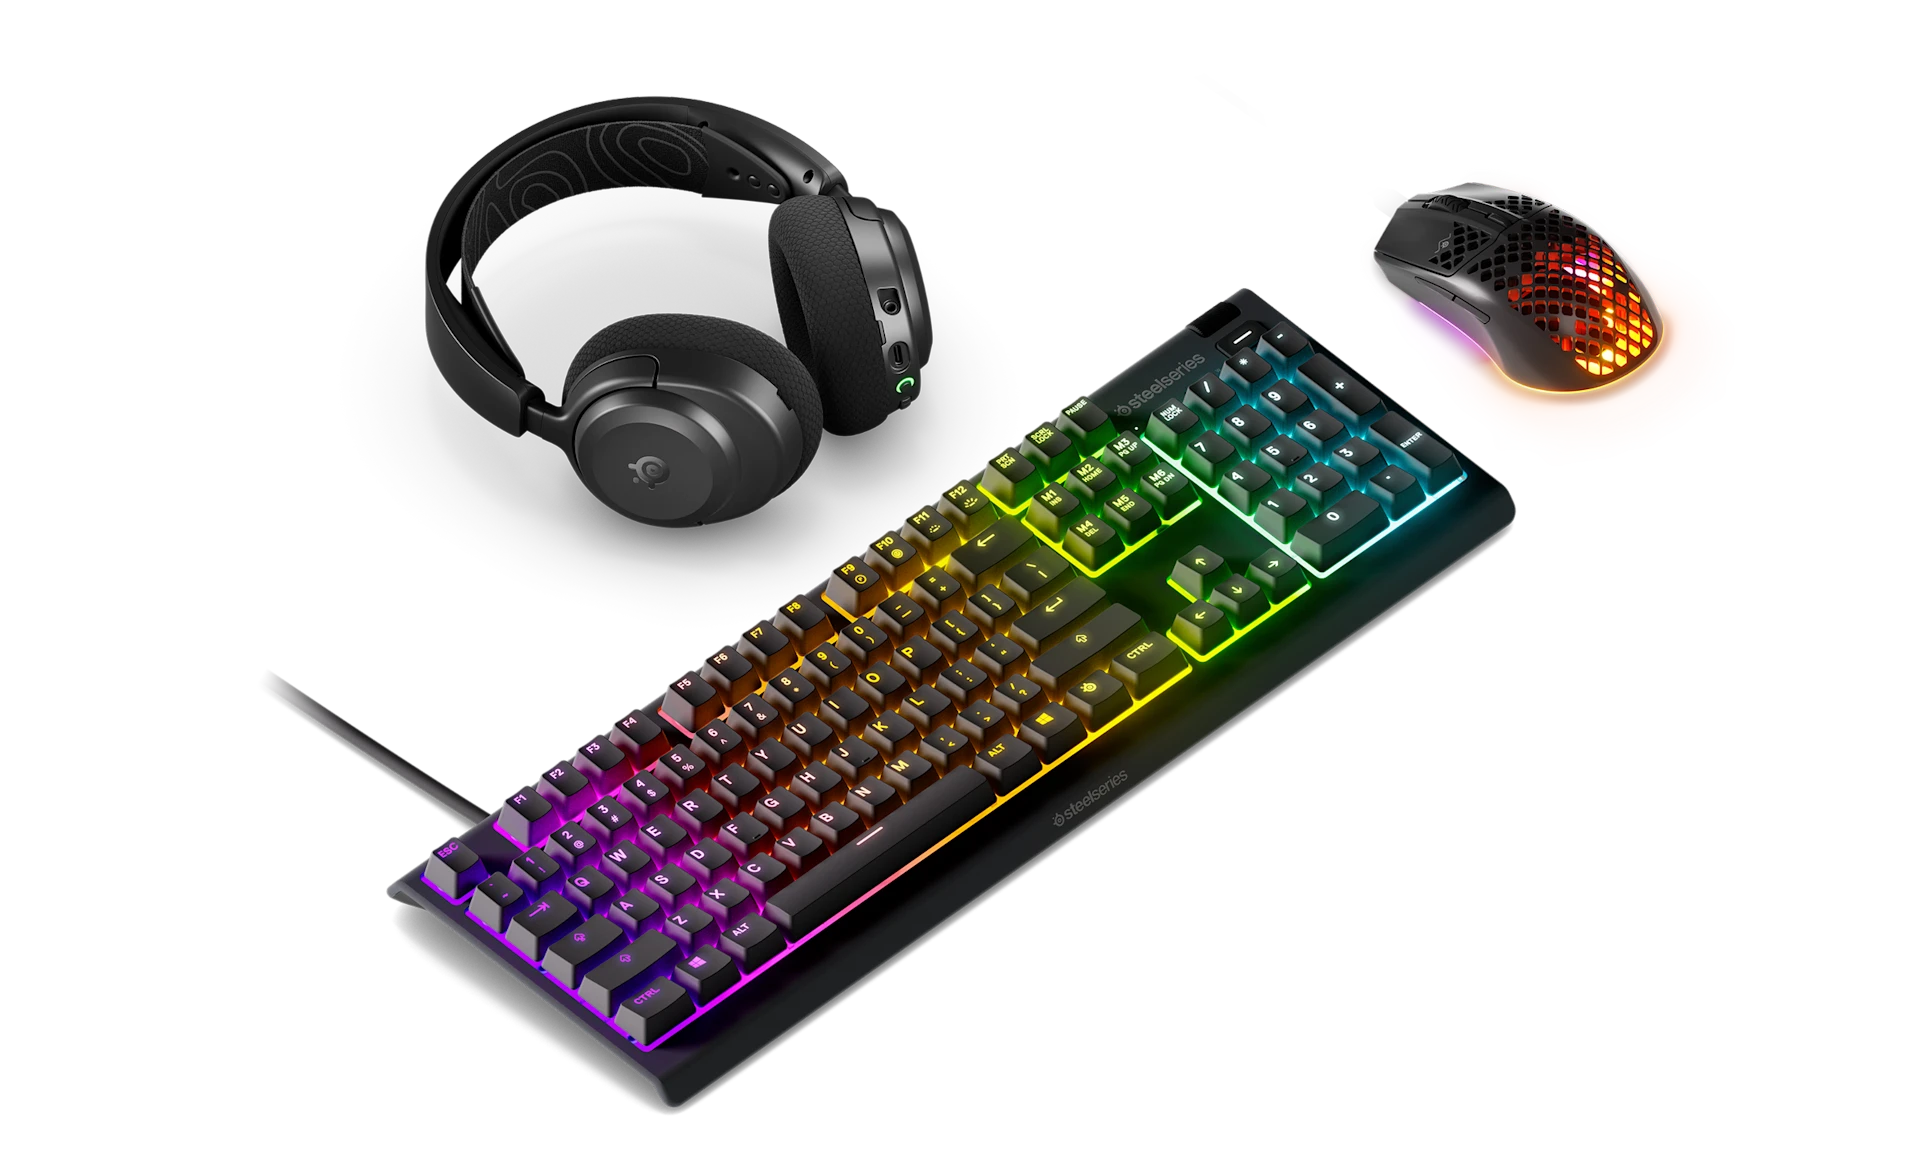
Background noise—fans, air conditioning, family conversations—can ruin an otherwise perfect stream or voice chat. While software solutions help, hardware placement is key. Position your headset's mic as close to your mouth as possible (as mentioned in step one) and reduce gain in software. This increases the signal-to-noise ratio, meaning your voice is much louder than any ambient sounds. Many SteelSeries headsets, such as the Arctis Nova 3X Wireless + Apex 3 + Aerox 3 Wireless (2022) bundle, come with advanced noise-canceling microphones that do an excellent job of rejecting background chatter. For persistent noise, consider a simple foam windscreen or a USB isolation cable (for analog headsets) to eliminate power-line hum.
7. Side-Tone and Monitoring: Hearing Yourself Clearly
One of the most overlooked features is side-tone—the ability to hear your own voice inside the headset. Without it, you may unconsciously start speaking louder or quieter because you can't gauge your own volume. Enable side-tone in your headset's software at a moderate level (around 30-50%). This creates a natural feedback loop that helps you maintain a consistent speaking level. Some headsets allow you to adjust side-tone on the fly with an onboard dial. If your headset doesn't support side-tone, you can enable 'Listen to this device' in Windows, though this introduces a slight delay. Side-tone is especially useful during streaming, where you might be talking over game audio and need to ensure your voice remains prominent.
8. Test and Iterate with a Friend
No amount of settings tweaking replaces a real-world test. Ask a friend to join a quick Discord call or watch a short stream clip and give you honest feedback. Common issues include: your voice sounds too 'tinny' (too much high-end—reduce treble in EQ), too 'boomy' (too much bass—reduce low frequencies), or you're clipping (the waveform hits 100%—reduce gain or apply a limiter). Record a short sample using Windows Voice Recorder or OBS, then listen back with your headset off to get an unbiased perspective. Adjust your EQ and compressor settings incrementally until your voice sounds natural and present.
9. Keep Your Firmware Updated
Headset manufacturers regularly release firmware updates that can improve microphone performance, fix latency issues, and add new features. For SteelSeries headsets, the GG software will notify you when an update is available. Make it a habit to check for updates every few months, especially before a major streaming event or tournament. An outdated firmware can cause random disconnects or make your mic sound muffled compared to the latest version. The process takes only a minute and can save you hours of troubleshooting later.
10. Advanced: Multi-Channel Audio for Streaming
If you really want to level up your stream audio, use the Sonar Audio Engine (part of SteelSeries GG) to create separate audio channels. With Sonar, you can route game audio, chat audio, and your microphone to different tracks in OBS. This allows you to adjust the volume of each element independently during post-production or even live, which is a game-changer for professional-looking streams. You can set your mic to be slightly louder than game audio, add a touch of reverb for a 'radio' effect, or mute chat audio when you're talking. It takes a bit of initial setup, but once configured, it gives you complete control over your audience's listening experience.
Conclusion
Optimizing your gaming headset for voice chat and streaming doesn't require expensive equipment—just attention to detail and a few minutes of configuration. By following the steps above—proper mic placement, software tuning, noise management, and real-world testing—you can achieve broadcast-quality audio that makes every word count. Start with your system settings, then dive into the powerful features offered by your headset's software.
Ready to elevate your communication? Explore the Arctis Nova 4P Wireless and experience crystal-clear voice chat and immersive streaming audio out of the box.