How to Replace and Upgrade Your Gaming Headset Ear Cushions for Better Comfort and Sound Isolation
By Steelseries | Published: 2026-06-25
Category: How-to Guides
Learn how to replace and upgrade your gaming headset ear cushions to improve comfort, sound isolation, and longevity. Step-by-step guide with tips for SteelSeries headsets.
Your gaming headset ear cushions are the unsung heroes of your audio experience. They sit between you and the drivers, affecting everything from comfort during long sessions to how well sound stays in—and ambient noise stays out. Over time, even the best ear pads wear down, flatten, or start peeling, degrading both fit and performance. Upgrading or replacing them is one of the most cost-effective ways to breathe new life into your headset. In this guide, we'll walk you through why and how to replace your gaming headset ear cushions, with a focus on improving comfort and sound isolation.
Why Replace Your Headset Ear Cushions?
Ear cushions are consumable parts. After months or years of use, they suffer from compression, sweat, skin oils, and dust. Here's why you should consider replacing them:
- Comfort degradation: Flattened padding creates pressure points, leading to fatigue during long gaming sessions.
- Sound isolation loss: Worn-out cushions form gaps between the headset and your head, letting in ambient noise and leaking game audio.
- Hygiene: Accumulated sweat and bacteria can cause irritation or odors. Fresh cushions are easier to clean and healthier.
- Audio quality: The seal is critical for bass response and soundstage. A compromised seal can make your headset sound thin or unbalanced.
For many gamers, replacing ear cushions is a simple DIY fix that restores the headset to near-new performance. Even premium models like the Arctis Nova Pro Wireless for Xbox + Apex Pro Gen 3 + Aerox 5 Wireless bundle benefit from periodic cushion swaps—especially if you share the headset or play in warm environments.

When to Upgrade vs. Replace
Sometimes you don't need a direct replacement—you can upgrade to a different material or thickness for improved comfort or isolation. Consider upgrading if:
- You want more breathable fabric (velour or mesh) for hot climates.
- You need deeper ear wells to accommodate glasses or larger ears.
- You desire higher-density foam for better passive noise isolation.
- Your current cushions are still functional but you crave a different feel.
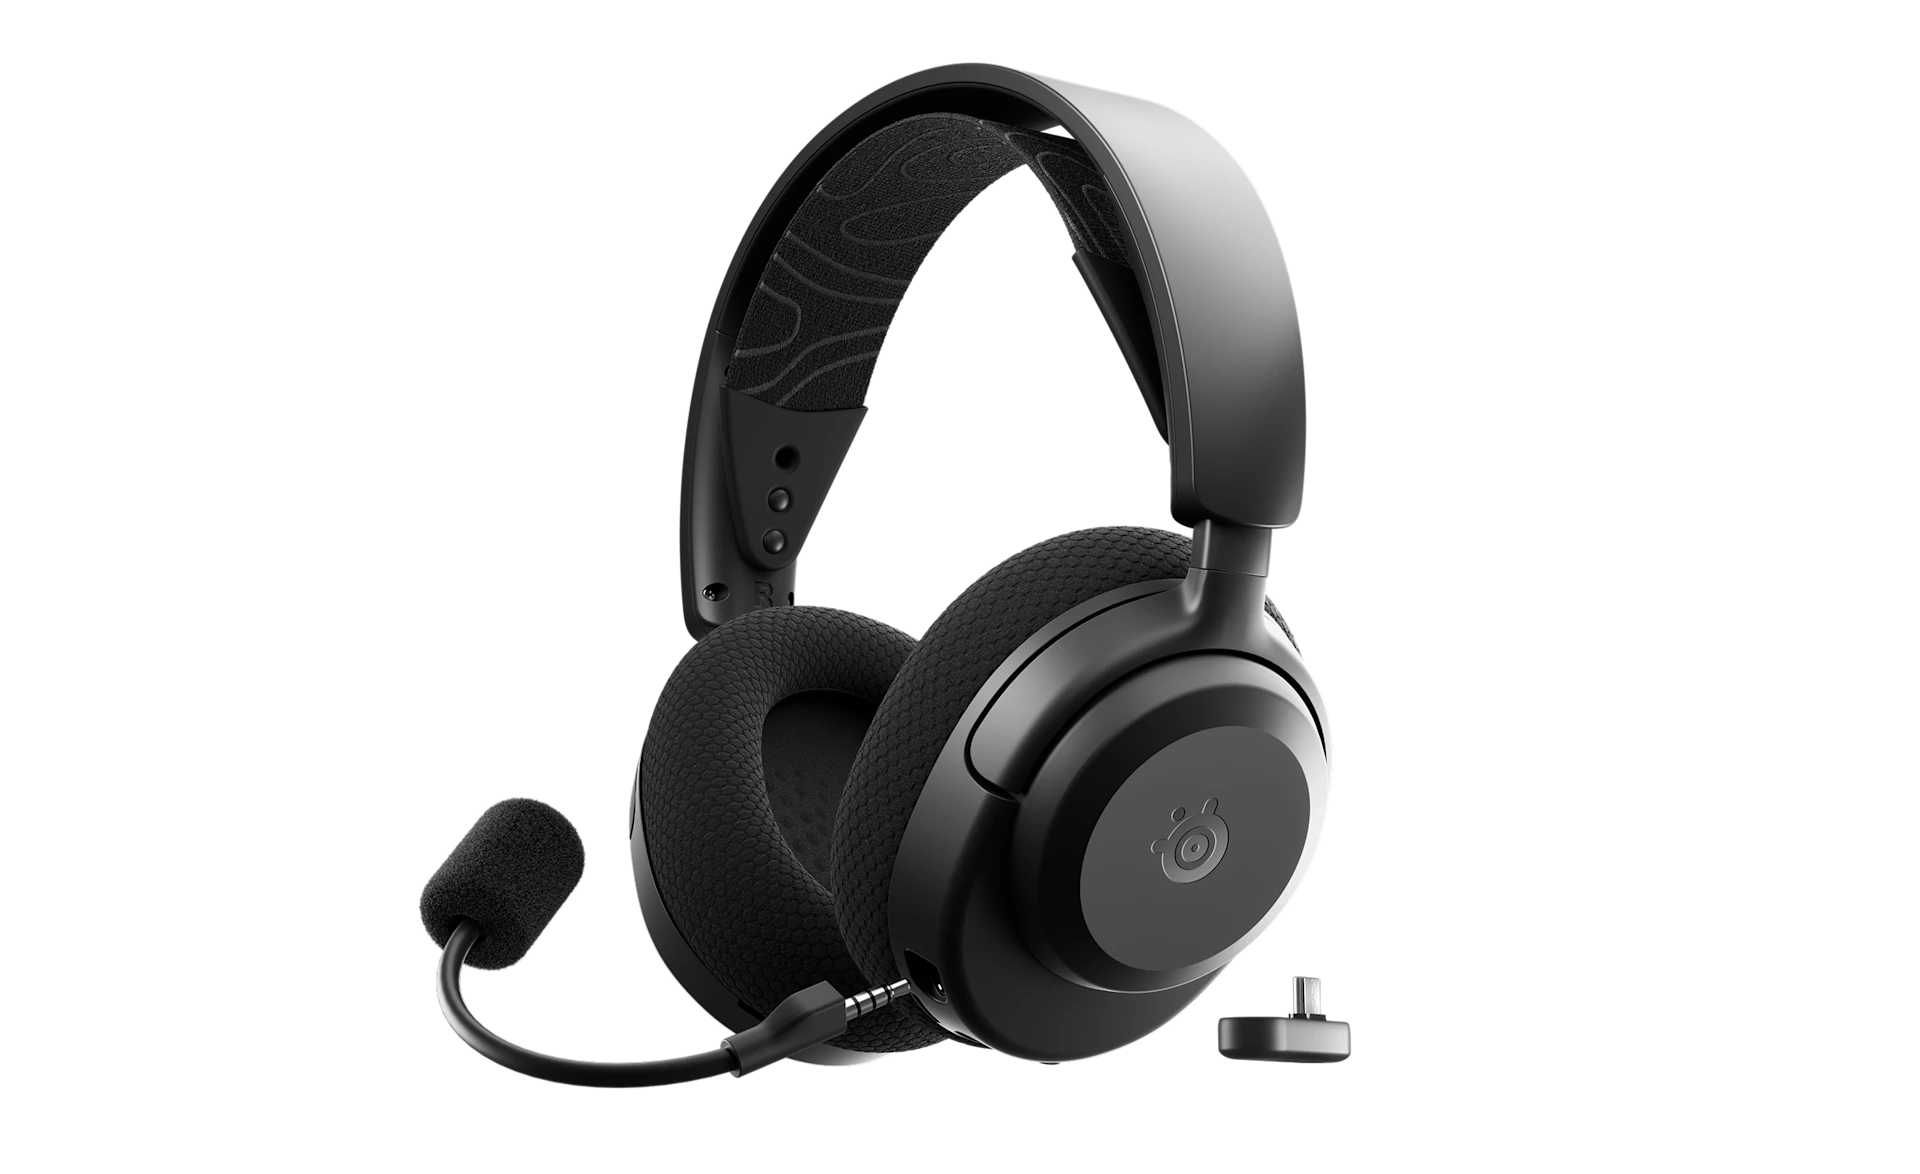
Replacement is necessary when the foam has collapsed, the leather or pleather is flaking, or the adhesive no longer holds. Many SteelSeries headsets, including the Arctis Nova 3P Wireless for PlayStation - Black, use a simple twist-and-pull mechanism that makes swapping cushions easy without tools.
Tools and Materials You'll Need
Replacing ear cushions is straightforward. Gather these items before you start:
- Replacement cushions: Ensure they are compatible with your headset model (size, attachment type).
- Microfiber cloth: For cleaning the headset ear cups before installing new pads.
- Isopropyl alcohol (70%): To sanitize the ear cup area (optional but recommended).
- Plastic spudger or thin flathead screwdriver: For prying off stubborn cushions (if not twist-off).
- Tweezers: Handy for removing foam residue or adhesive backing.
Step-by-Step Guide to Replacing Ear Cushions
Step 1: Remove the Old Cushions
Most modern gaming headsets use one of two attachment methods:
- Twist-and-lock: Rotate the cushion counterclockwise until it unclips from the ear cup. This is common on SteelSeries Arctis series headsets.
- Snap-on / stretch-over: Gently pull the cushion away from the ear cup rim. Start at a corner or seam and work your way around.
If the cushion has hardened or stuck, apply gentle heat with a hairdryer for a few seconds to soften the material. Never use excessive force—you could damage the headset frame.
Step 2: Clean the Ear Cup Surface
Once the old cushions are off, wipe the plastic ear cup with a microfiber cloth lightly dampened with isopropyl alcohol. This removes oils, dust, and any adhesive residue. Let it dry completely before proceeding. Pay special attention to the area where the cushion attaches—any debris can prevent a secure seal.
Step 3: Align and Install the New Cushions
Check the orientation: left and right cushions are often identical, but some models have a notch or indicator. Align the cushion's mounting ring with the ear cup's grooves (for twist-lock) or center the cushion over the rim (for snap-on).
- For twist-lock: Press the cushion evenly and rotate clockwise until you feel it click into place. You should hear or feel a firm lock.
- For snap-on: Stretch the cushion over the rim, starting at the top and bottom, then the sides. Ensure the cushion sits flush all around.
After installation, give the cushion a gentle tug to verify it's secure. A properly fitted cushion will not wobble or slip off during use.
How Cushion Material Affects Comfort and Sound Isolation
Choosing the right material is key to achieving your goals. Here's a comparison of common ear cushion materials:
| Material | Comfort | Sound Isolation | Breathability | Durability |
|---|---|---|---|---|
| Leather / Pleather | Soft, plush | Excellent (seals well) | Poor (can get sweaty) | High (may peel over years) |
| Velour / Fabric | Very comfortable | Good (slightly less sealing) | Excellent | Moderate (absorbs sweat) |
| Mesh / Hybrid | Breathable and cool | Good to very good | Excellent | High (resists wear) |
| Memory Foam (any cover) | Superior (conforms to ears) | Excellent (dense foam) | Varies by cover | High (foam retains shape) |
If your priority is maximum sound isolation for competitive gaming (e.g., blocking out room noise during tournaments), leather or high-density memory foam cushions are your best bet. For all-day comfort in a warm room, velour or mesh will keep your ears cooler. Many SteelSeries headsets offer official replacement cushions in different materials, so check compatibility before buying.
Common Mistakes to Avoid
- Forcing incompatible cushions: Always verify the attachment type (twist-lock vs. snap-on) and diameter. Using the wrong size can damage the headset.
- Overtightening: With twist-lock cushions, stop turning as soon as you feel resistance. Over-rotating can strip the locking mechanism.
- Ignoring orientation: Some cushions have a slight taper or cutout for the ear shape. Installing them backward can reduce comfort and sound isolation.
- Skipping cleaning: Old dirt trapped between the ear cup and new cushion can cause irritation or a poor seal.
Extending the Life of Your New Ear Cushions
Once you've installed fresh cushions, a little maintenance goes a long way:
- Wipe them down with a damp cloth after each session, especially if you tend to sweat.
- Avoid exposing them to direct sunlight or heat sources for long periods.
- Store your headset on a stand or hook rather than flat on a desk to prevent uneven compression.
- Consider using a protective cover or replacing cushions seasonally if you game heavily.
When to Consider a Full Headset Upgrade
While replacing ear cushions is a great first step, sometimes the headset itself has aged in other ways. If you notice drivers rattling, the headband losing tension, or the microphone degrading, it might be time for a full upgrade. SteelSeries offers bundles like the White Out Champion Bundle that pair a high-performance headset with a mouse and keyboard—ideal for a cohesive, tournament-ready setup. However, if your headset is still in good shape mechanically, a $15–$30 cushion swap can extend its useful life by years.
Final Tips for Maximum Sound Isolation
Beyond cushion material, sound isolation depends on the seal around your ears. Here are pro tips to get the best passive noise reduction:
- Ensure your headset's clamping force is adequate (not too loose). Adjust the headband accordingly.
- If you wear glasses, choose cushions with deeper ear wells or notched foam to accommodate frames without breaking the seal.
- Combine with a quiet environment or use active noise cancellation (if your headset supports it) for ultimate immersion.
Replacing or upgrading your gaming headset ear cushions is a simple, rewarding DIY project that directly improves your gaming experience. Better comfort means longer, more focused sessions, and improved sound isolation helps you hear footsteps and environmental cues with clarity. Whether you stick with the original material or experiment with something new, your ears—and your K/D ratio—will thank you.
Ready to refresh your headset? Explore our selection of compatible replacement cushions and upgrade your comfort today. Check out the Arctis Nova Pro Wireless Battery Pack to keep your wireless sessions going strong after you've upgraded your ear pads.