How to Optimize Your Gaming Controller for First-Person Shooters: Sensitivity, Dead Zones, and Custom Profiles
By Steelseries | Published: 2026-06-23
Category: How-to Guides
Master controller settings for FPS games with our guide on sensitivity, dead zones, and custom profiles. Improve your aim, reaction time, and consistency in shooters.
In the world of competitive first-person shooters (FPS), every millisecond counts. While keyboard-and-mouse setups often dominate the conversation, a growing number of players are proving that a well-tuned controller can be just as lethal—especially with the right settings. Whether you’re dropping into a ranked match of Call of Duty, Apex Legends, or Overwatch, optimizing your controller settings for FPS is the single most impactful change you can make to your gameplay. This guide dives deep into sensitivity, dead zones, response curves, and custom profiles, giving you the tools to fine-tune your aim and dominate the leaderboards.
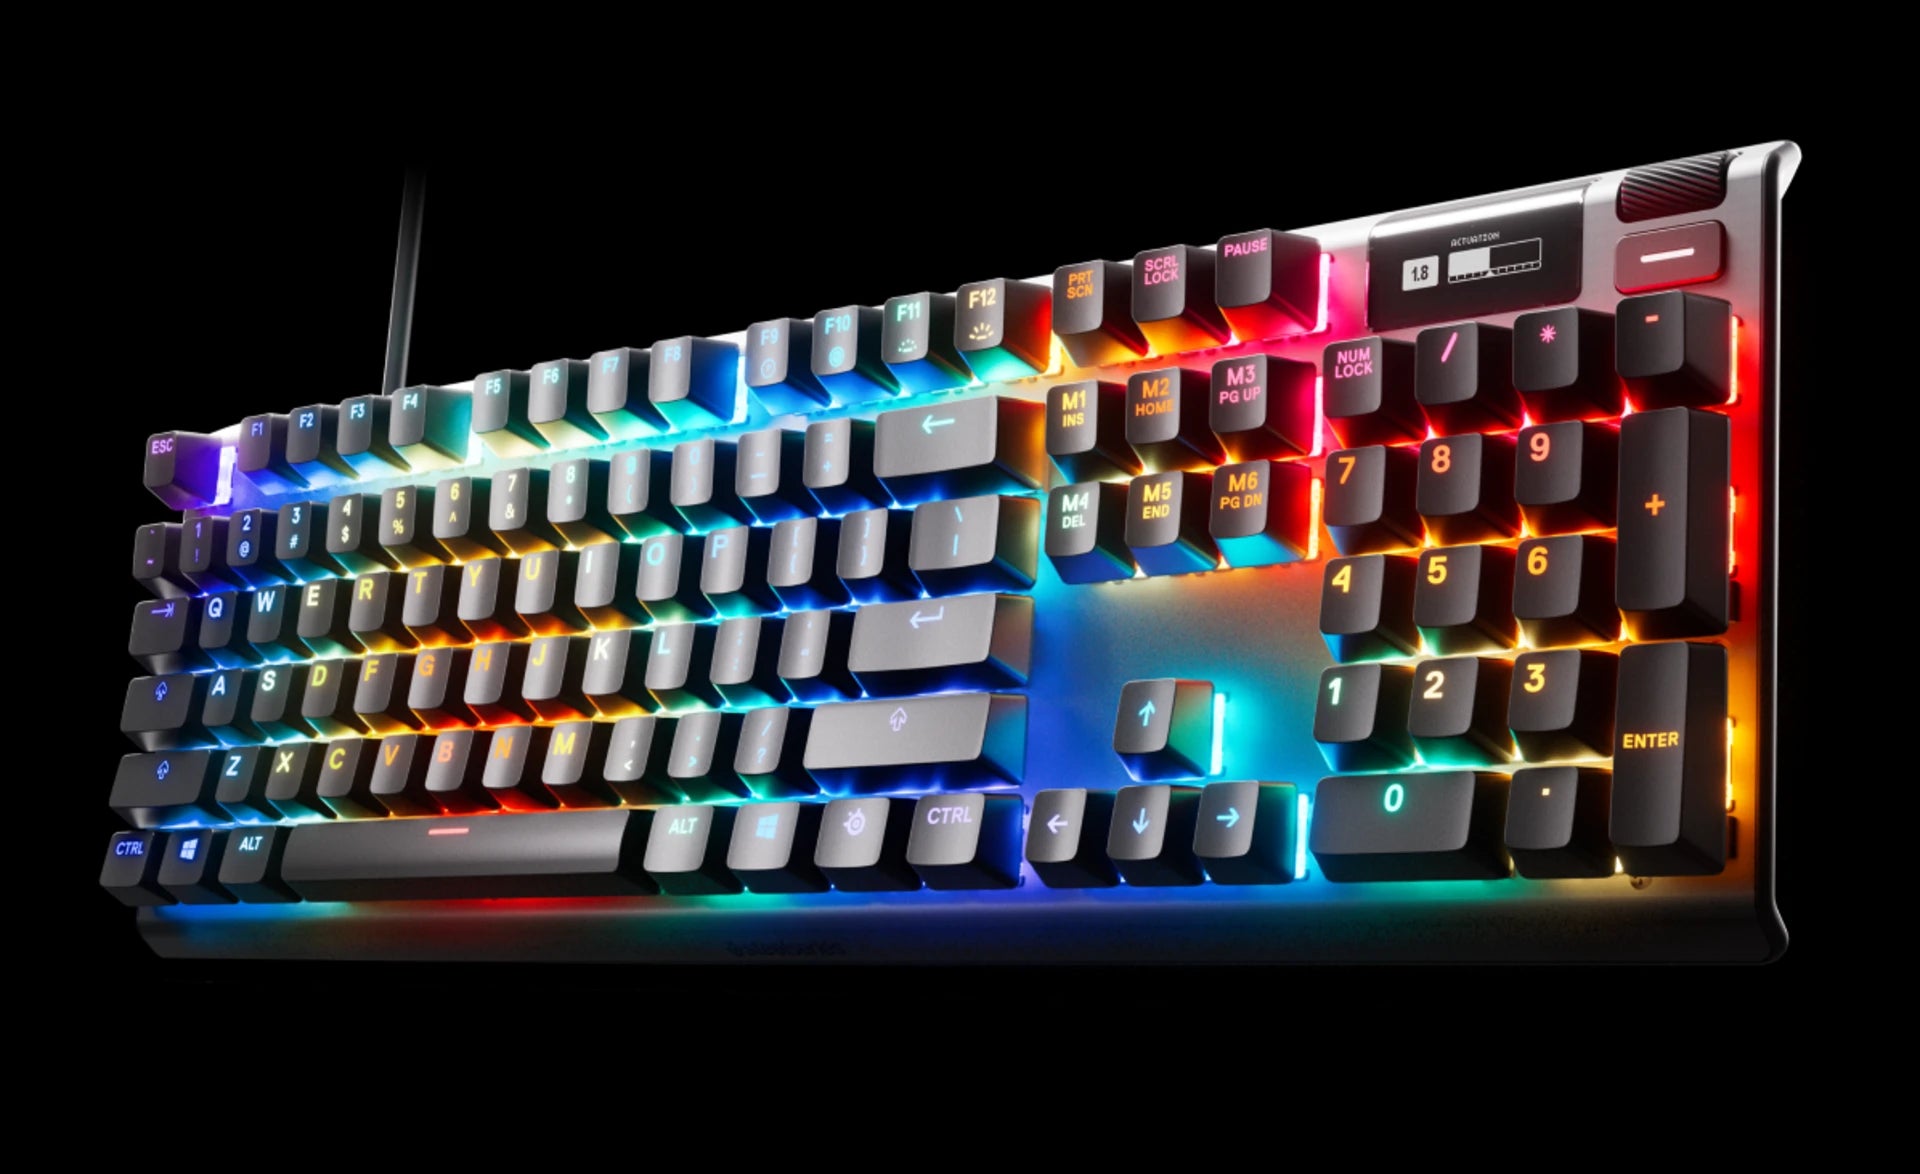
Before we begin, it’s worth noting that not all controllers are created equal. If you’re serious about competitive play, investing in a high-performance gamepad can make a tangible difference. For instance, the Apex Pro US offers adjustable actuation and rapid trigger capabilities that translate beautifully into FPS games. But even with the best hardware, setting up your controller correctly is half the battle. Let’s break down the essential parameters you need to tweak.
Understanding Controller Sensitivity for FPS
Controller sensitivity determines how quickly your in-game crosshair moves in response to thumbstick input. It’s usually measured on a scale (e.g., 1–20 or 1–100) or as a numeric value. The goal is to find a sweet spot that balances quick target acquisition with precise aim.
High vs. Low Sensitivity
High sensitivity allows you to turn around quickly and track fast-moving enemies, but it can make fine adjustments (like aiming for a headshot) jittery and inconsistent. Low sensitivity offers more control for micro-adjustments but leaves you vulnerable to flanking attacks because you can’t react quickly. Most pro controller players use a sensitivity between 4 and 7 on a 1–10 scale, or a horizontal/vertical sensitivity of 4–6 on a standard console game. The key is to start low and gradually increase as your muscle memory develops.
Look Acceleration and Aim Assist
Look acceleration ramps up your turn speed the longer you hold the thumbstick in one direction. While it can help with 180-degree turns, many competitive players disable it because it introduces inconsistency. Aim assist, on the other hand, is a built-in feature in most console shooters that slows your crosshair when hovering over an enemy. Keep aim assist on—it’s a massive advantage for controller users—but be aware that heavy aim assist can sometimes fight your own inputs. Adjust its strength in the game’s settings if possible.
Dead Zones: The Hidden Key to Precision
Dead zones are the area around the center of your thumbstick where the controller ignores input. A dead zone that’s too large means you’ll need to push the stick farther before your character starts moving, which delays response time. A dead zone that’s too small can cause stick drift—where your character moves slightly without you touching the stick—leading to frustrating camera wobbles.
For FPS games, we recommend setting your left thumbstick dead zone (movement) to a moderate value (e.g., 10–15%) and your right thumbstick dead zone (aiming) as low as possible without introducing drift. On most controllers, a right stick dead zone of 5–10% strikes an excellent balance. Some high-end controllers, like those from SteelSeries, allow you to customize dead zones at the hardware level via companion software. If your controller supports it, use the software to calibrate each stick individually for maximum accuracy.
Pro tip: Many modern games offer separate dead zone sliders for left and right sticks. Take advantage of this to fine-tune your movement and aim independently.
Response Curves: Linear vs. Exponential vs. Dynamic
The response curve defines how your thumbstick input translates to in-game movement. A linear curve means that pushing the stick 50% to the side moves your crosshair at 50% speed—no acceleration, no smoothing. This is favored by competitive players because it’s predictable. An exponential curve starts slow and ramps up at the end of the stick’s travel, giving you more control for fine aiming but faster turns when you push fully. A dynamic curve (sometimes called “smooth”) adds a gradual acceleration in the middle range.
We recommend starting with a linear or dynamic curve and adjusting from there. Linear offers the most raw, skill-based experience, while dynamic can help if you struggle with overshooting targets. Experiment in the practice range for 10–15 minutes with each curve to see which feels most natural.
Custom Profiles and Button Mapping
One of the biggest advantages of modern gaming controllers is the ability to create custom profiles. A custom profile stores your sensitivity, dead zone, button mapping, and even RGB lighting settings, so you can switch between games or playstyles instantly. For FPS titles, consider mapping jump, crouch, or reload to paddle buttons (if your controller has them) so you never have to take your thumbs off the sticks. This is a game-changer for movement mechanics like slide-cancelling or bunny-hopping.
When building a custom profile, start with a baseline setting (e.g., sensitivity 5, linear curve, dead zone 8%) and then iterate. Record your gameplay and watch for moments where your aim felt sluggish or twitchy—adjust the sensitivity or dead zone by 1–2 points in those areas. Over time, you’ll dial in a profile that feels like an extension of your hand.
For players who want the ultimate in customization, the Doona + Handlebar Cover might not be a controller, but it’s a great example of how SteelSeries accessories can enhance your setup. For actual controllers, look for models with onboard memory and companion software to save and switch profiles on the fly.
Common FPS Controller Mistakes and How to Fix Them
| Mistake | Solution |
|---|---|
| Stick drift after a few months | Increase dead zone slightly (by 2–3%) or calibrate in software. |
| Overshooting targets consistently | Lower sensitivity by 1 point and try a linear response curve. |
| Can’t track moving enemies | Increase sensitivity slightly and enable aim assist if available. |
| Thumb fatigue during long sessions | Reduce spring tension if your controller allows it, or take breaks. |
| Slow reaction to flanking enemies | Increase look acceleration or raise horizontal sensitivity. |
Testing and Fine-Tuning Your Settings
Once you’ve made adjustments, it’s time to test them. Jump into a private match or training mode and practice the following drills:
- Tracking drill: Follow a moving target (like a bot strafing side to side) for 30 seconds. If you lose it, lower your sense or adjust dead zone.
- Flick drill: Quickly snap your crosshair between two stationary targets. If you overshoot, reduce sensitivity; if you undershoot, increase it.
- 180-degree turn test: Spin around quickly and try to land on a target behind you. If you over-rotate, decrease look acceleration or sensitivity.
Repeat these drills after each settings change. It takes time—sometimes days—for your muscle memory to adapt. Don’t change settings mid-match; instead, commit to a profile for at least a week before making major tweaks.
Hardware Considerations for Competitive Controller Play
While software settings are crucial, your controller hardware also plays a role. Look for features like:
- Adjustable thumbstick tension: Allows you to choose between loose (faster flicks) or tight (more precise aim).
- Extra programmable buttons: Paddles or rear buttons let you keep your thumbs on the sticks at all times.
- Low input latency: Wired or low-latency wireless connections reduce lag between your input and the screen.
- Ergonomic design: A comfortable grip reduces fatigue and improves consistency.
SteelSeries offers a range of controllers and peripherals designed with competitive gamers in mind. For example, the Aerox 5 Wireless + QcK Vector bundle combines a lightweight gaming mouse with a high-performance mousepad, ideal for players transitioning between controller and mouse. But even if you’re a dedicated controller player, investing in a quality headset like the Arctis Nova Pro Wireless for Xbox & PC - Blemished Box can vastly improve your spatial awareness—hearing footsteps and gunfire is just as important as aiming.
Final Thoughts: Consistency Beats Perfection
There is no single “best” controller setting for FPS. What works for a pro player might feel terrible for you. The goal is to find settings that feel predictable and comfortable, so your brain can focus on strategy and reaction rather than fighting the controller. Start with the baseline recommendations in this guide, then experiment methodically. Keep a notepad of your settings and note what you changed after each session. Over time, you’ll build a custom profile that unlocks your full potential.
Ready to elevate your setup? Explore the full range of gaming peripherals at SteelSeries, including controllers, headsets, and accessories designed for competitive play. Check out the Apex Pro US for a keyboard that brings adjustable actuation to your FPS arsenal, or browse our controller collection for the perfect gamepad to match your optimized settings.