How to Calibrate Your Gaming Controller for Optimal Aim in Call of Duty and Apex Legends
By Steelseries | Published: 2026-06-27
Category: How-to Guides
Learn how to calibrate your gaming controller for better aim in Call of Duty and Apex Legends. Adjust stick sensitivity, dead zones, and response curves to gain a competitive edge.
Precision aiming is the difference between victory and defeat in fast-paced battle royales and first-person shooters like Call of Duty and Apex Legends. While many players focus on mouse acceleration and DPI settings, controller users often overlook a critical variable: controller calibration. Properly tuning your controller’s stick sensitivity, dead zones, and response curves can dramatically improve your accuracy, target tracking, and overall gameplay. In this guide, we’ll walk you through the steps to calibrate your gaming controller for optimal aim—whether you’re using a standard gamepad or a premium model like those from SteelSeries.
Why Controller Calibration Matters for FPS Games
In competitive shooters, even a millisecond delay or a slight misalignment in stick input can cost you a gunfight. Controller calibration involves adjusting the hardware and software settings to ensure that every thumbstick movement translates exactly as you intend. When your controller is well-calibrated, you’ll experience:
- Reduced dead zones – No more sluggish initial movement or unintended drift.
- Custom response curves – Fine-tune how quickly your aim accelerates as you push the stick.
- Better target tracking – Smooth, predictable reactions to enemy movements.
Games like Call of Duty and Apex Legends have built-in settings to help, but hardware-level calibration can take your performance to the next level.
Step 1: Understand Your Controller’s Hardware
Before diving into software settings, check the physical condition of your controller. Worn thumbsticks, sticky buttons, or loose triggers can undermine any calibration. For a reliable upgrade, consider controllers built for precision—like those in the Controllers category on SteelSeries. For instance, the Liki Cap is a simple add-on that improves grip and control on standard thumbsticks, reducing slip during intense matches. Pairing it with a quality controller base can make calibration adjustments more effective.

Step 2: Calibrate In-Game Settings First
Most FPS titles offer basic calibration options. Start with these before tackling hardware tweaks:
Call of Duty Controller Settings
- Horizontal/Vertical Sensitivity: Set between 5-7 for a balance of speed and control. Lower values help with long-range aim, while higher values improve close-quarters reaction.
- Dead Zone: Start at 0.05 (or the lowest value without stick drift) and increase incrementally until drift disappears.
- Response Curve: Choose “Dynamic” or “Linear” for more predictable aim acceleration.
Apex Legends Controller Settings
- Look Sensitivity: Many pros use 4-4 or 5-5 for steady tracking.
- Dead Zone: Set to “Small” or custom values between 0.1 and 0.2 to reduce drift.
- Response Curve: “Classic” or “Linear” is popular. Linear offers no acceleration, making micro-adjustments easier.
After adjusting in-game, test your aim in the firing range. If you still feel sluggish or overshoot targets, it’s time to calibrate the controller itself.
Step 3: Use System-Level Calibration Tools
Both Windows and console platforms provide controller calibration utilities:
- Windows: Go to Settings > Devices > Bluetooth & other devices > Game Controller settings. Select your controller and choose “Properties.” Under the “Settings” tab, click “Calibrate” and follow the prompts to center the sticks and triggers.
- PlayStation: On PS5, go to Settings > Accessories > Controllers > Communication Method and calibrate stick sensitivity under “Analog Stick Sensitivity.”
- Xbox: Use the Xbox Accessories app to remap buttons and adjust stick curves.
For a more advanced approach, third-party software like Steam’s controller configuration allows per-game profiles. You can set custom dead zones, response curves, and even gyro aiming if your controller supports it.
Step 4: Fine-Tune Dead Zones and Response Curves
Dead zones are the areas near the center of the stick where input is ignored. A larger dead zone prevents drift but makes small movements less responsive. A smaller dead zone increases responsiveness but may introduce drift. Here’s how to dial them in:
- Test for drift: In the calibration tool, move the stick to center and release. If the cursor moves without input, increase the dead zone slightly.
- Set outer dead zones: Some controllers allow you to adjust the outer range where maximum input is registered. Keep this tight for snappier turns.
- Response curves: Experiment with “Exponential,” “Linear,” or “Dynamic” curves. For tracking enemies in Apex Legends, a linear curve (no acceleration) often works best. For Call of Duty’s fast-paced twitch aiming, a slight exponential curve can help with precision.
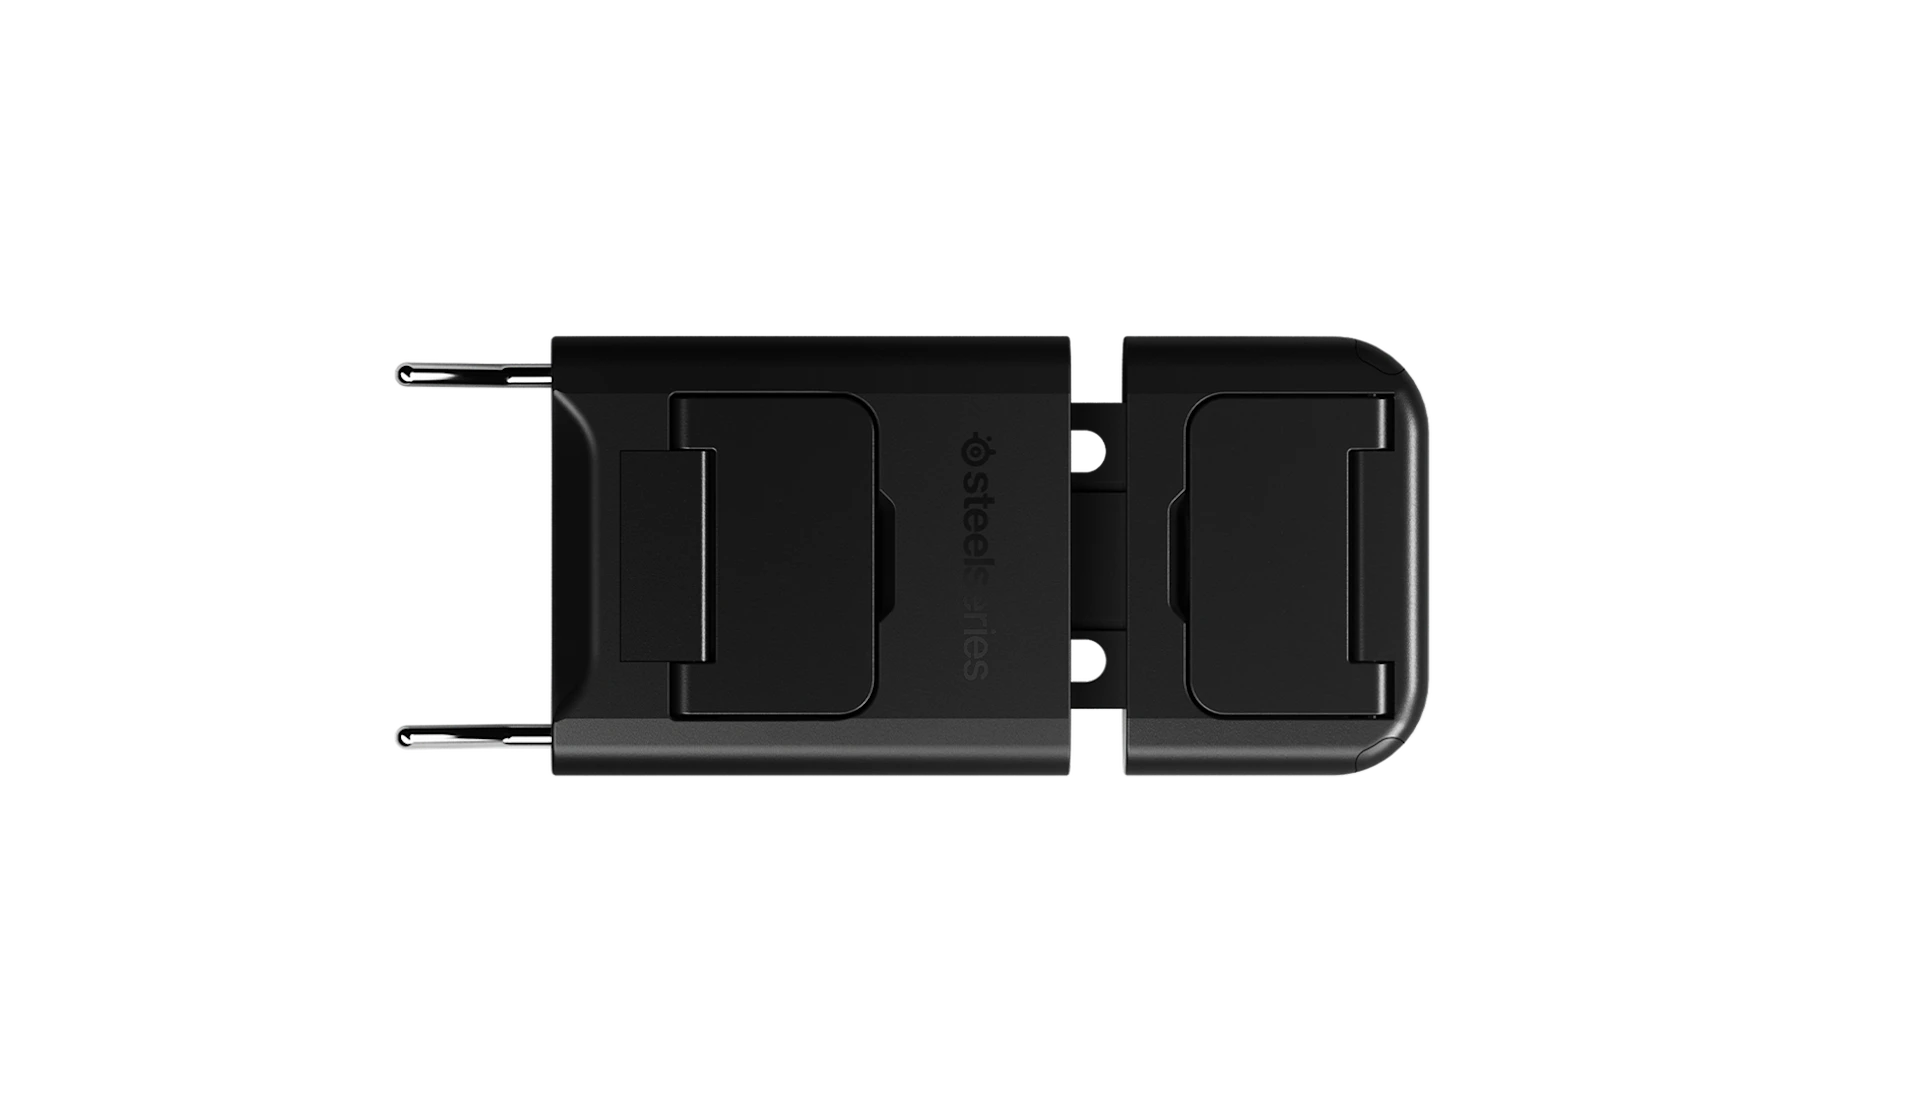
If your controller lacks these options in software, consider upgrading to a model with built-in customization. SteelSeries offers accessories that enhance control, like the Stratus+ Phone Mount, which frees your hands for mobile gaming but also shows how controller ergonomics impact aim stability.
Step 5: Test and Iterate
Calibration is not a one-and-done process. Spend 15–20 minutes in a training mode or casual match after each adjustment. Focus on:
- Tracking: Follow a moving target (like a bot or wall) without overshooting.
- Flick shots: Quickly snap to a stationary target from different angles.
- Consistency: Repeat the same movement multiple times to see if your aim is stable.
Write down your settings so you can revert if changes don’t help. Many players find that combining a low dead zone (0.05–0.1) with a linear response curve yields the best results for both Call of Duty and Apex Legends.
Common Calibration Mistakes to Avoid
- Over-adjusting: Changing too many settings at once makes it impossible to identify what works. Tweak one variable per session.
- Ignoring stick wear: Old or dirty thumbsticks can cause erratic movement. Clean them regularly or replace with aftermarket caps.
- Copying pro settings blindly: Professional players have unique hardware and playstyles. Use their settings as a baseline, then adapt to your own feel.
Remember, calibration is personal. A setting that feels perfect for one player might feel sluggish to you. Trust your muscle memory and be patient.
When to Upgrade Your Controller for Better Aim
If you’ve exhausted calibration options and still struggle with precision, it might be time to upgrade your hardware. Look for controllers with:
- Hall effect thumbsticks – These use magnets instead of physical contact, reducing wear and improving accuracy over time.
- Adjustable trigger stops – Faster trigger pulls can shave milliseconds off your reaction time.
- Customizable back paddles – Keep your thumbs on the sticks while jumping, sliding, or reloading.
SteelSeries offers a range of controller accessories and peripherals that complement a well-calibrated setup. For example, adding a Keyboard Keycap Puller to your toolkit shows how even small hardware tweaks can improve your overall gaming environment.
Final Thoughts: Master Your Aim Through Calibration
Controller calibration is a hidden superpower in competitive shooters. By understanding dead zones, response curves, and system-level tools, you can transform your aim in Call of Duty and Apex Legends. Start with in-game settings, then move to system calibration, and finally fine-tune with hardware upgrades. Consistent practice and iterative adjustments will lead to more kills, better positioning, and higher ranks.
Ready to take your controller setup to the next level? Explore SteelSeries’ collection of gaming peripherals at Stratus+ Phone Mount to enhance your mobile gaming experience or find the perfect controller companion. Every detail matters when you’re chasing victory.